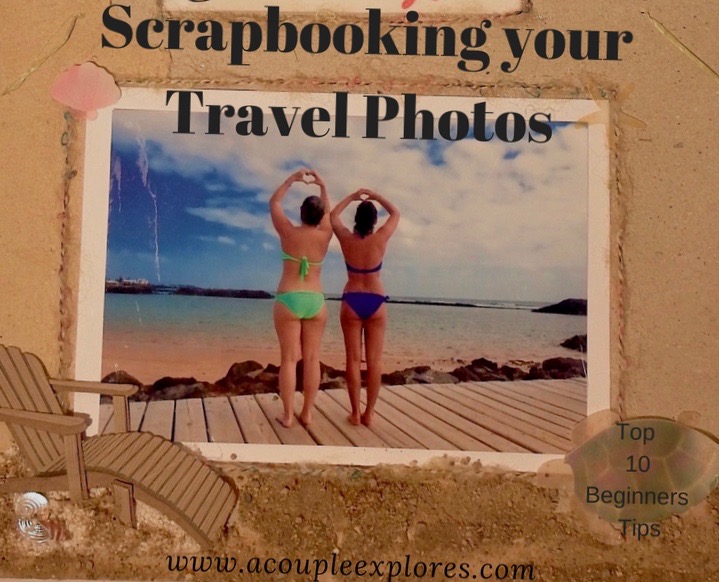
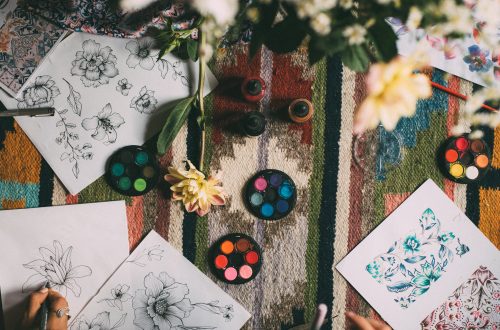
Ten Beginners Tips for Scrapbooking your Travel Photos
Looking for a great way to cherish the memories from your latest trip or vacation? Look no further then scrapbooking. It is the hands down best way to store and share your memories for years to come. I am an avid scrapbooker in addition to being a traveler and cherish the process of creating such nostalgic projects. I am excited to combine my three loves, crafting, traveling and blogging to create my list of top ten tips for beginners scrapbooking your travel photos.
We are an affiliate marketer with Amazon. If you click on the link and make a purchase, we get a small commission at no extra cost to you. We will never risk breaking your trust by linking to something we don’t believe in.
Wait for a Good Deal on Prints
Walgreens almost always has some type of deal on prints. If at any time they don’t, it is worth it to wait the week or two it takes until they are offering one again. The best ones are the offers they have on prints over a certain amount , usually a hundred or more prints. If that’s more then you need for this particular project, it’s a good time to print off some of those other shots you’ve been meaning to print out but never do to get that discount.
Only Use Your Best Photos
It can be tempting to just print out all the photos from your trip, but resist the urge. You will never be able to do it justice trying to scrapbook every photo This will also prevent you from printing out all ten shots you have in front of the same attraction that are essentially the same picture. You really only need that shot once or your pages will be really monotonous. So pick the best version to print out. I usually do both a pre-printing purge and a second purge when I am planning the pages to get it down to the right photos.
Don’t Buy Anything at a Craft Store Without a Coupon

Both Michaels and JO-ANNs craft stores have regularly changing coupons posted on their websites at all times. There are often some really good ones like 40% off one non-clearance item or 20% off your entire purchase. If you aren’t too far away from the store it could even be worth it to make multiple trips. I generally find myself doing that anyways as a fairly avid crafter. You don’t even have to print the coupons out , you can just pull them up on your phone and they can scan them at checkout.
Photo Albums
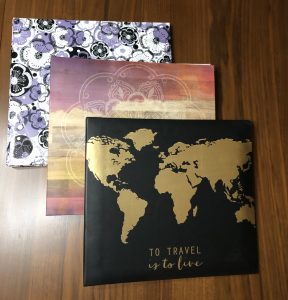
The scrapbook albums can be another pricier item you need to purchase, often at least $20-$30 dollars a piece for a basic one. I have found that Michaels usually has out some cheaper ones at the end of an aisle , outside of the actual albums section that are only ten bucks. A lot of them are actually travel themed as well like the two I purchased above. They are now my go to albums. If you aren’t close to a chain craft store you can find them on amazon as well most of them are closer to $20 except for this adorable one here.
Skip the Expensive Stickers
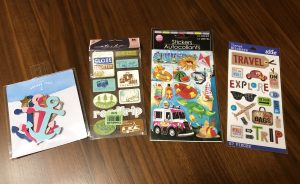
It can be really tempting to pick-up one of those more extravagant sticker packs that they make for specific cities and countries. I have used them before but they often are not really worth it. For one thing, they probably include attractions or sites that you didn’t go to. That leaves you with stickers you definitely aren’t ever going to use. Additionally, if you are putting pictures from different attractions on one page these can be too specific and not meld well into your page. The best thing to do,after you have organized your pages so you have an idea of what you will need, is to get sticker packs with more generic themes that you will get more use out of. For example, a beach or tropical pack for your beach vacation page , a Desert pack for your trip to Arizona page, nature packs for your camping trip page, etc. Keep an eye out at the dollar stores, Walmart, second hand shops and Target’s dollar section for stickers Amazon also has an excellent pack of stickers that are the perfect amount of variety to get you started that you can find here.
Buy the Multi-Pack 12X12 Papers
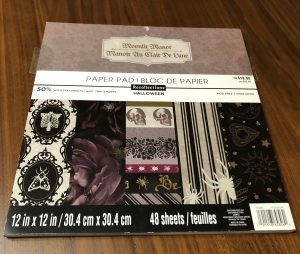
12X12 papers are an item you will get a lot of use out of. You can use them as the background, to frame photos and they can be cut into various other things for extra decoration of the page. The best value for getting the paper that you will need is to buy the multi-packs. Wait for them to be on sale at the craft stores as they frequently do, to get the very best deal. You can buy packs that have an array of colors or that are in different themes. Finding a pack with a theme that matches the vibe of your trip is always the ideal option. It can really make the whole book have a cohesive style. They also sell papers individually that can be very unique but much more expensive per page. I generally only buy those when I am looking for something really specific to bring together a particular page when nothing I already have seems to fit.
Plan Out Your Pages
Once I get my prints, my next step is always to go through the pictures again to see if there are any more I think should be taken out. I always keep that pile nearby though in case I change my mind or realize a page needs one more picture. I can sometimes then go back and pull one from my discard pile that will work well as needed. The next step is to organize them into different categories. This may be by day or attraction or activity, just whatever feels best. This makes it easier to split up the photos into individual pages. It also gives you a better idea of what is going to fit on the page. You are not going to be able to do more then three , four if your pushing it, full size 4X6 photos per page. Cropped photos, which I find myself doing with a lot of the photos, may allow for more photos on some pages but don’t over do it. You will likely still be adding , taking away and switching around the photos as you go along but pre-organizing them gives you an excellent place to start. This tip carries into when you are making your page as well. Set everything on your background paper to see what it will look like before gluing anything down. That way you can rearrange things to see what you like best.
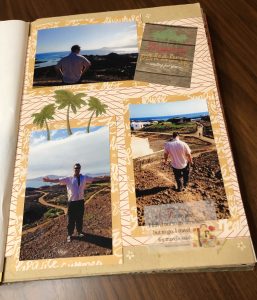
Frame your Photos
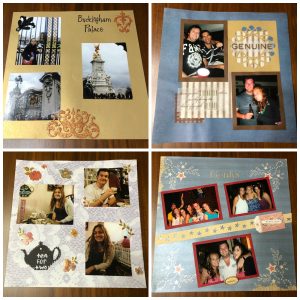
A really simple and easy way that you can improve the appearance of your pages, especially as a beginner, is to frame your photos. Utilize matching or coordinating cardstock paper to create a cohesive look. This gives you a baseline to add the stickers, decals and other decorative elements that will complete your page. Compare the unframed pages on the left completed at the beginning stages of my scrapbooking Journey to those on the right that are framed. The framing gives the pages those extra quality and coordination to the pages.
Less is More
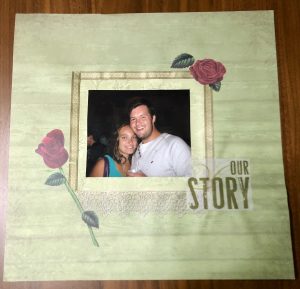
With all the fun supplies out there, it can be tempting to use them all on your page. But oftentimes, your page will benefit most from you taking a critical eye and being selective with what you included. Its always better to utilize extra time rather than extra stickers. The same goes for the amount of photos you use on a page. The page above is a great example. It is one of my favorite pages that I have done and utilizes only one photo and limited decorations but the final affect is very attractive.
Anything can be Incorporated
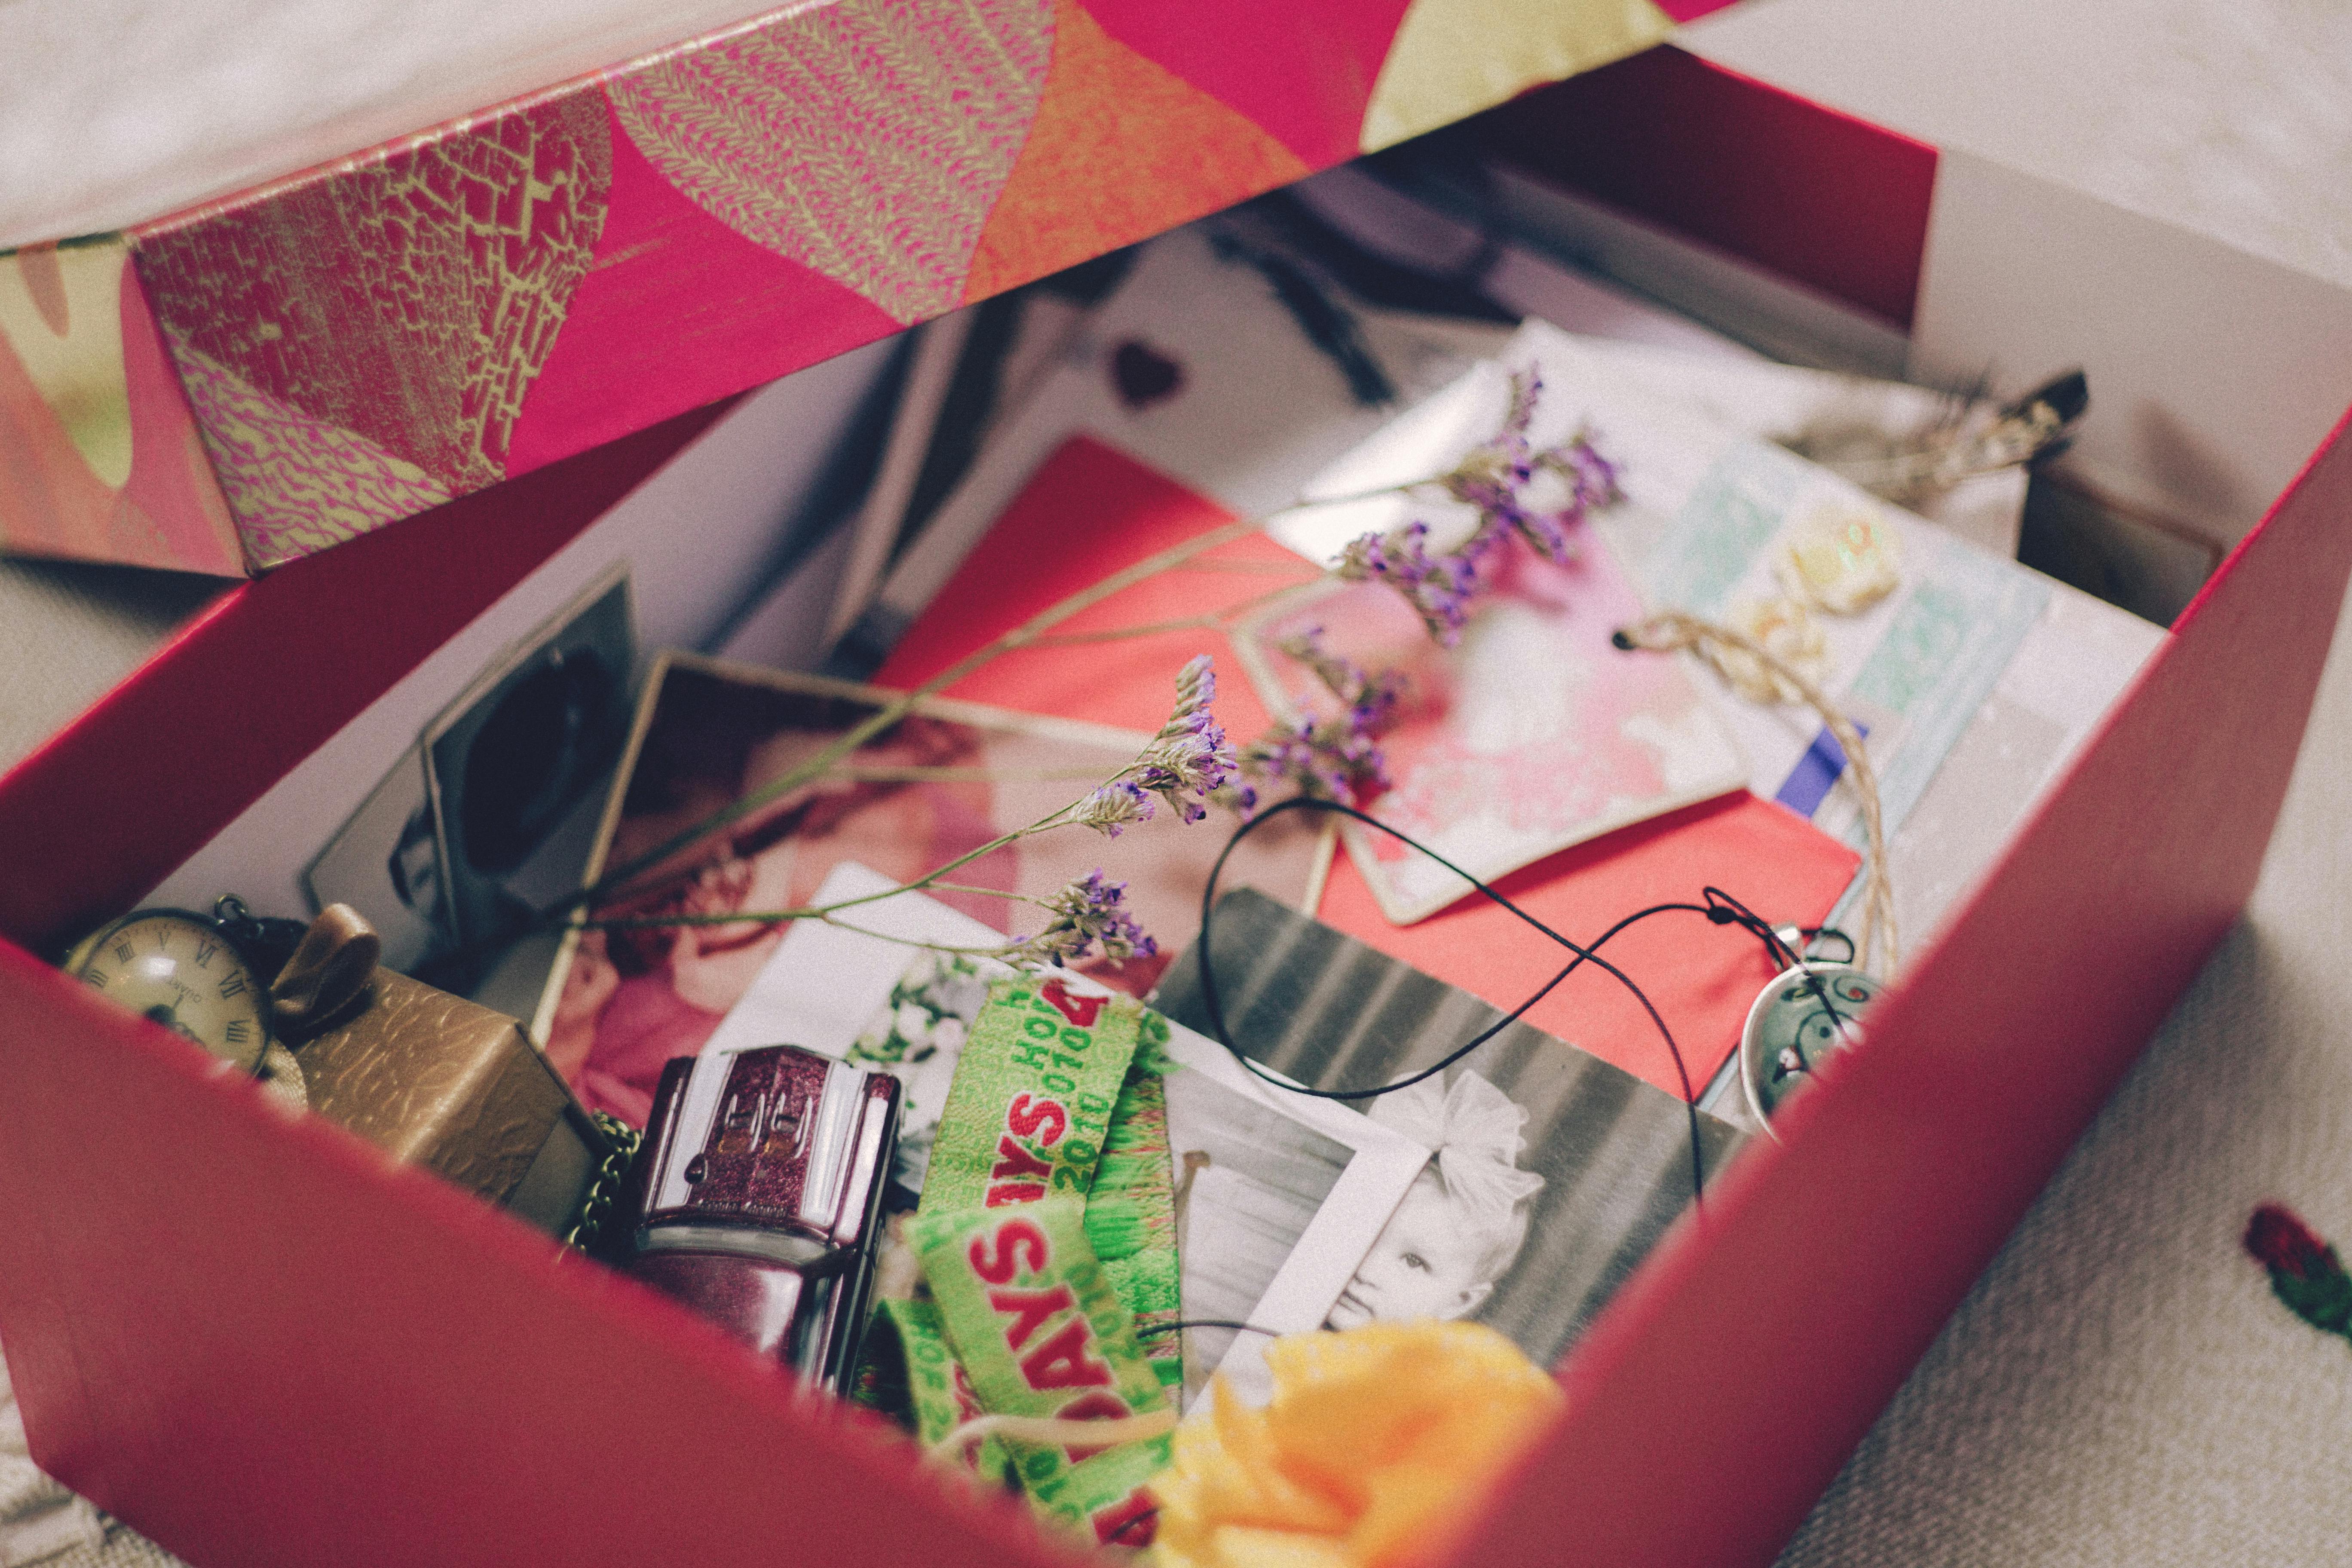
There are tons of products out there for sale specifically marketed for scrapbooking. They can be on the pricier side though so it is worth looking into other craft items as well. Check out what they are selling in the other sections of the store as they can often be used for your pages as well. I have also found really great crafting supplies at places like Walmart and the Dollar Store. Additionally, there are tons of items you have around the house that can be repurposed. A few examples I have used are , Greeting cards, faux flowers, sand, seashells, broken jewelry, the possibilities are endless. Use your creativity to bring your page together to complete your vision.

Related Posts


You May Also Like
Top Five Travel Craft Projects
Being an Everton Fan in America